Easy Gluten-Free Pizza for Indoor or Outdoor Ovens
We are a thin crust pizza family which has made it pretty easy for me to keep everyone happy with gluten-free pizzas.
Especially since 1) I spent this fall and winter playing with a fast, fool-proof pizza crust, and 2) we got a small pizza oven in anticipation of a deck expansion and hard-wired propane line going in this fall.
Making good gluten-free pizza crust has historically been a pain in the ass. It requires a proprietary blend of flours, it’s really hard to nail the texture, and it wasn’t something I super looked forward to making.
Since I’m all about deliciousness AND ease, I want to be able to use an off-the-shelf gluten-free AP flour. I want it to roll out easily. I want it to have a great yeast flavor. And I want it to be crispy and chewy, both.
Covid seemed as good a time as any to mess around with crusts. Every time I had someone come over and cook with me – which was pretty much every week – I made a slightly different version of this crust, either as a flatbread or as a pizza, and then requested feedback.
I got GREAT feedback! (I have friends with terrific palates, I request kindly, AND I feed them afterward, so being subjected to my recipe testing isn’t all bad…)
I’ve been making a quick GF flatbread for years that leans on yogurt and baking soda for tenderness and lift. It’s lightning fast and always tasty. But I wanted the flavor of yeast for this dough.
If you bake this pizza inside in the oven, you don’t need to par-bake the crust – it can go right onto an oven rack, on parchment paper (per above). Works like a charm.
If you want to bake it in a legit, super-hot pizza oven, then you need to par-bake the crust (parchment incinerates at +700°F and unpleasantly burns into the crust, and GF crust is too fragile to slide off a pizza peel on its own). And that’s OK – it allows you to work ahead a bit and that’s always a nice thing.
All fall and winter, I was limited to indoor pizzas only.
But this summer, while I’m here in Montana, I’ve been baking pizzas outdoors. I’ve had my eye on a Gozney Roccbox pizza oven for the last 4 years, reading reviews, and following them on Instagram. They’re a bit more expensive than other portable, propane-fired pizza ovens, but the higher quality is more than worth it. And you can attach a wood-burning accessory if wood-fired pizza is a must-have. (I have no financial affiliation with Gozney.)
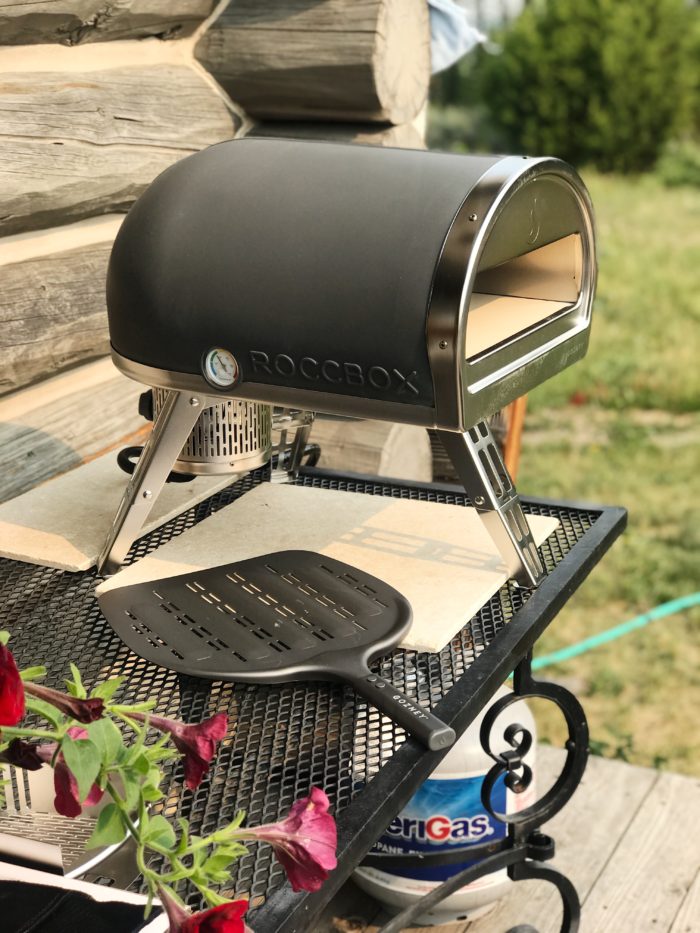
My parents assembled the pizza oven pretty quickly and in short order, I had fired it up, preheated it to 900°F (!), and we were off and running.
Gluten-free crust browns fast (the edges get quite dark, which I think is gorgeous and delicious), so the trick with a high-heat oven like this is to preheat, then turn it down to medium-high. (If you bake this crust in your kitchen oven, the edges won’t turn dark the way they do in a high-heat pizza oven.)
Turning the heat down a bit ensures the crust nearest the flame doesn’t brown ahead of the toppings. Each pizza requires one 180° turn for evenness. If I want the top to brown a bit more, I just lift the pizza with a peel up toward the ceiling of the oven for a sec. Sizzzzzletown. So much good.
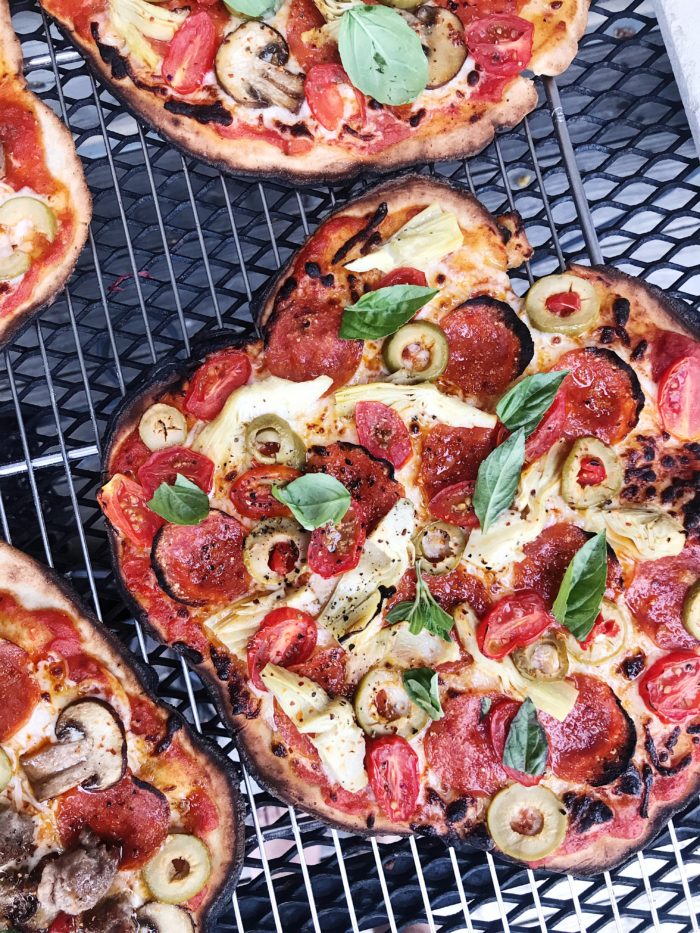
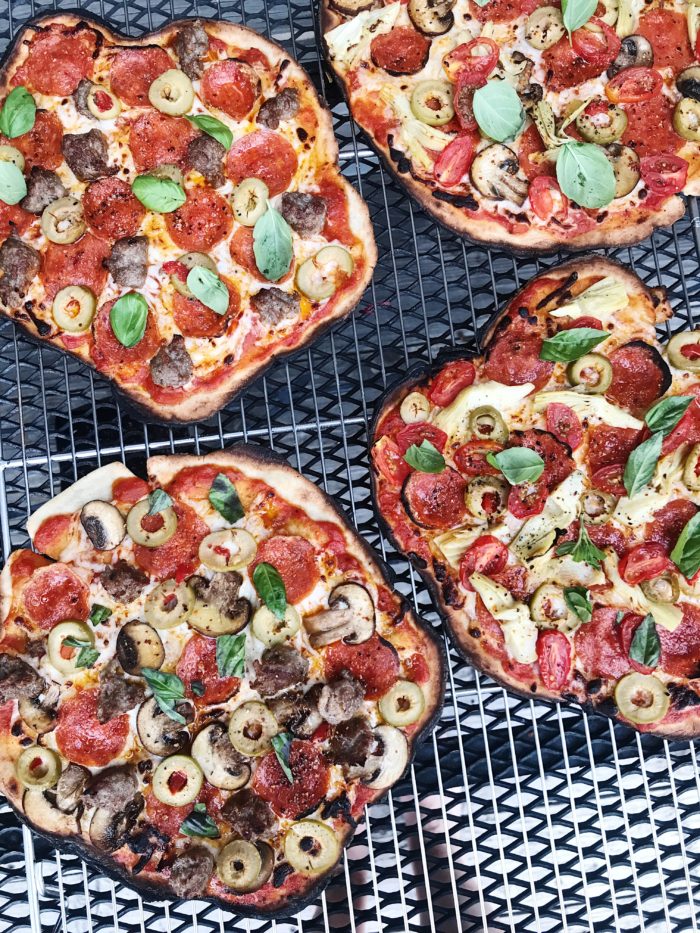
Since this crust is thin, I keep the toppings light (I also just prefer lighter pizzas).
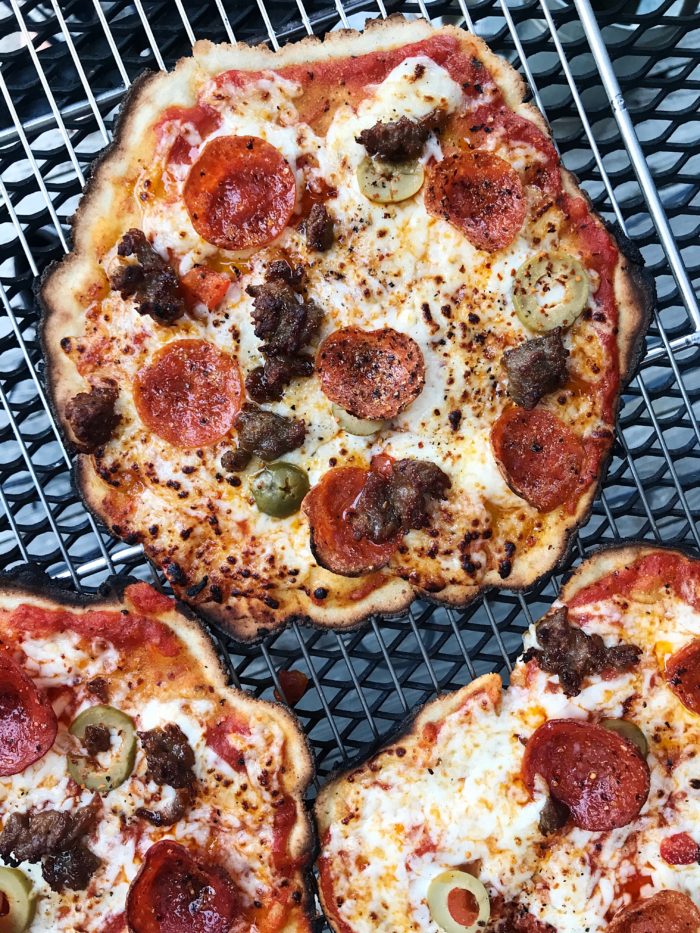
The love for pepperoni and green olives must be genetic, because it’s everyone’s fave, from my dad to my son to my sister. To me! So I tend to put at least a hint of both on most pizzas.
(The pic above is my second attempt – I had the oven too hot, the edges got quite burned. Still damn delicious, and yielded good data.)
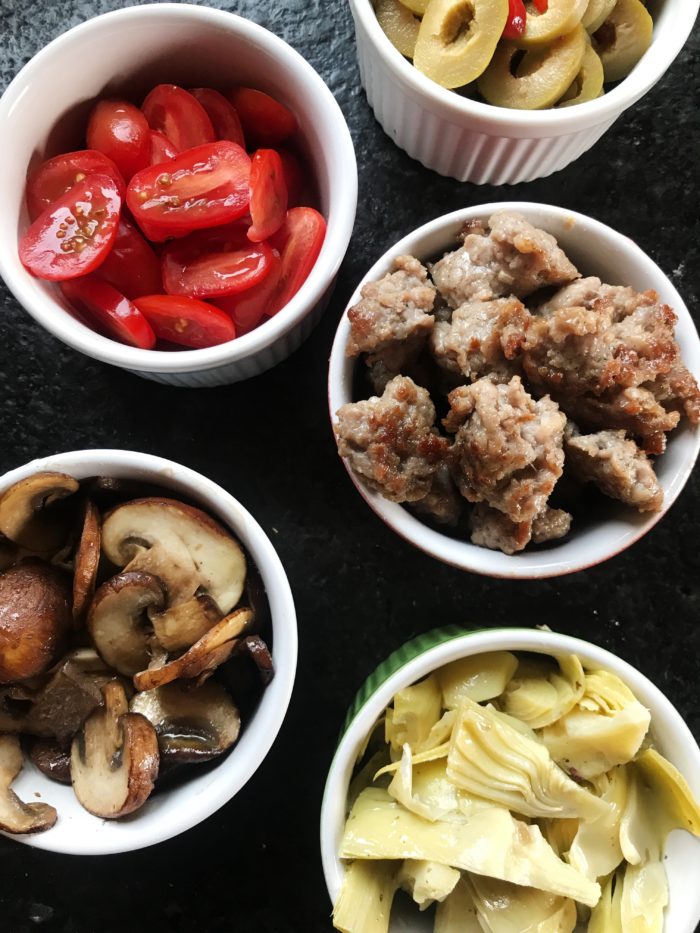
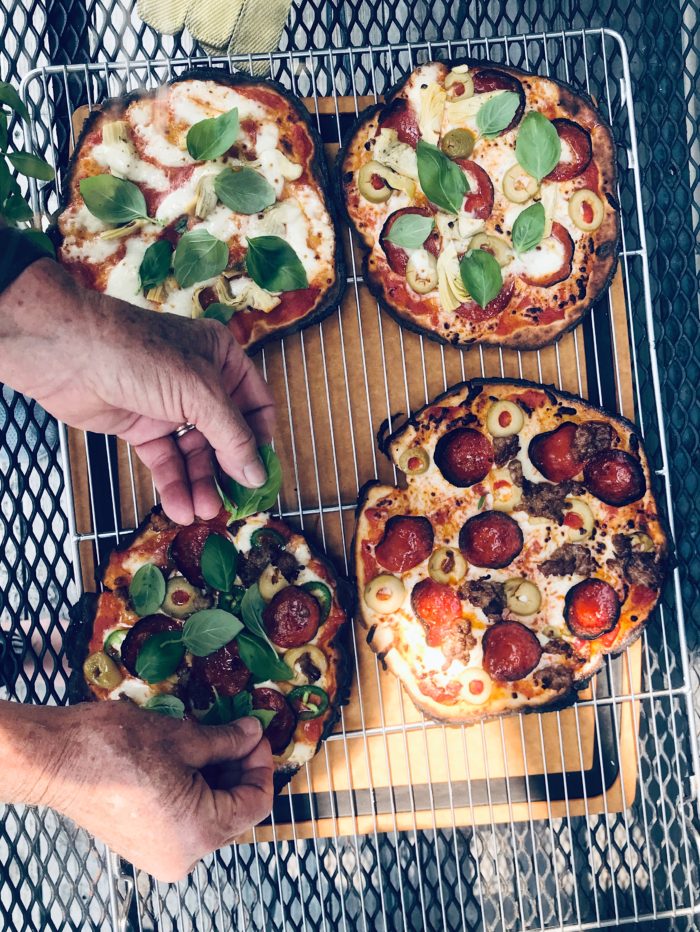
My stepmom Susanna loves artichoke hearts and fresh tomatoes – with plenty of fresh basil. I myself adore mushrooms on pizza, so they find their way on as well. Both fresh mozzarella and shredded mozzarella work beautifully – again, with a light touch. I’ve been using Rao’s marinara and it’s lovely.
The dough can sit in the fridge for days, so go ahead and make a double batch. Just be aware that with a pizza oven that preheats as quickly as the Gozney – 15 minutes – you’ll be eating pizza OFTEN. Lucky you.
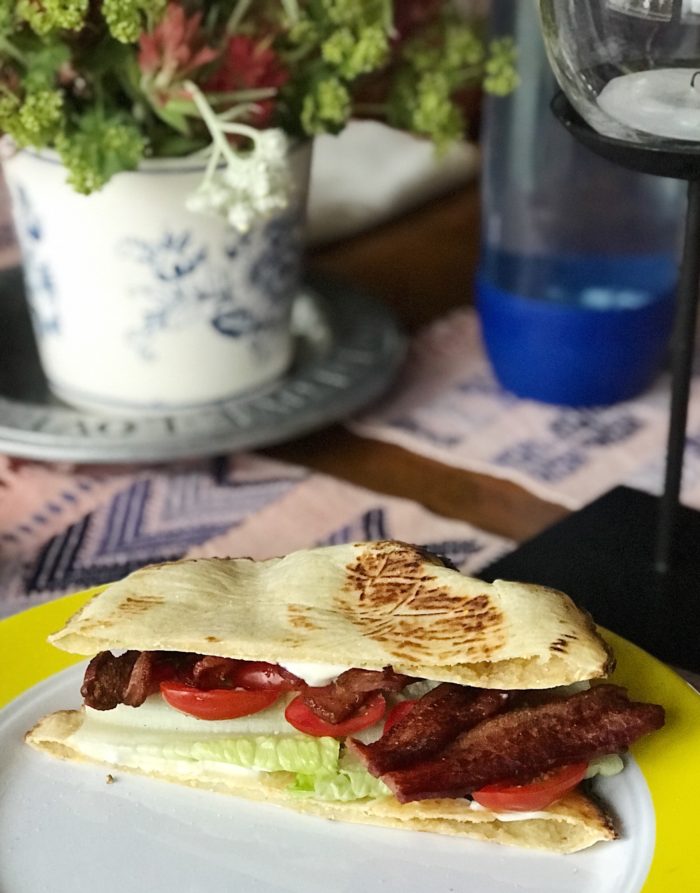
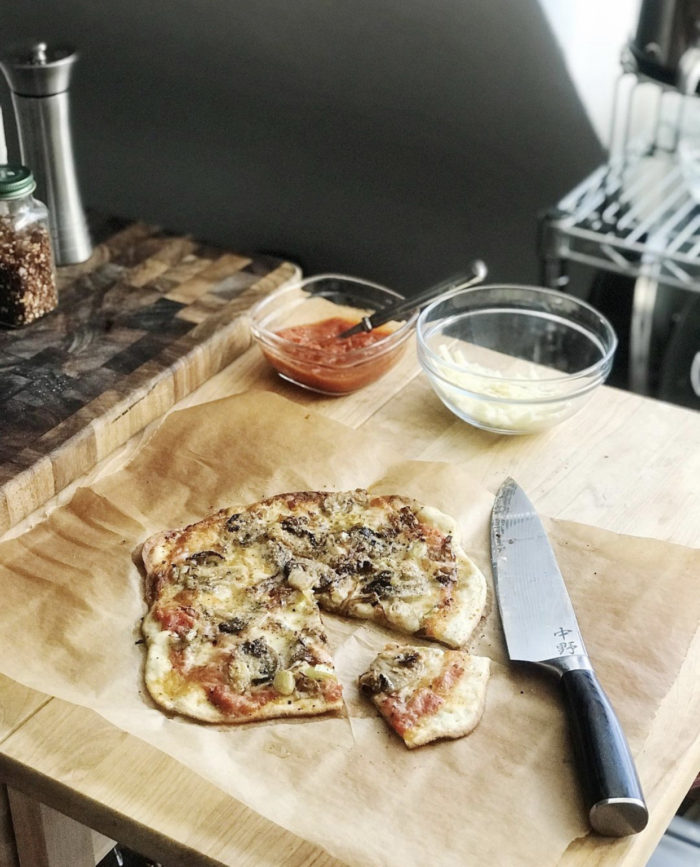
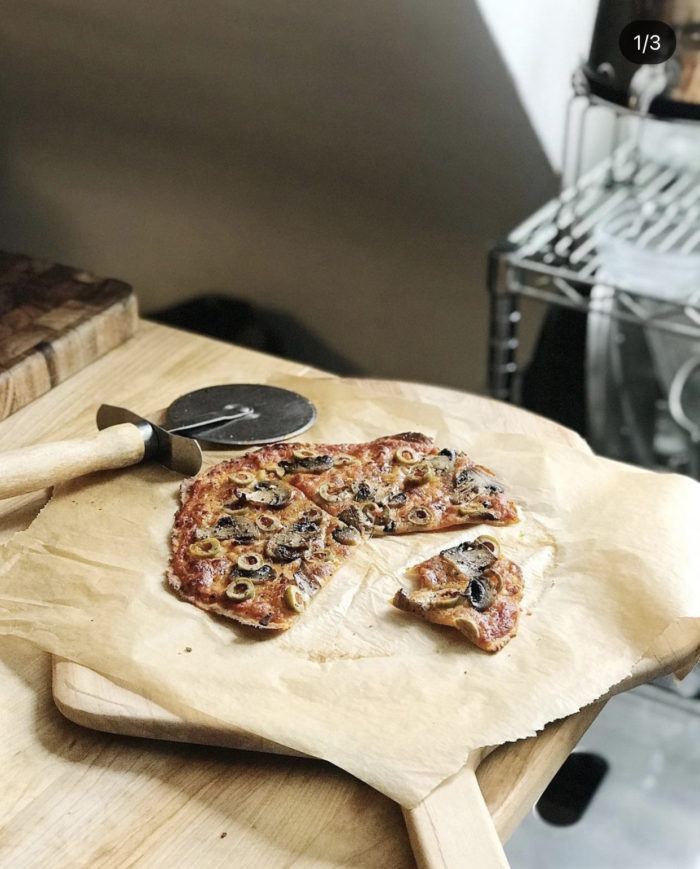
I do bake the crust alone to eat as a quick flatbread – in fact, we had BLTs for din the other night and a small crust made a delicious sandwich.
You can drizzle the dough with oil and sprinkle with herbs and salt before baking it off – I’ve used that in caesar salad and as a quick appetizer with a great spread. (We entertain a LOT out here, so I’m making appetizers and dinners almost every night.)
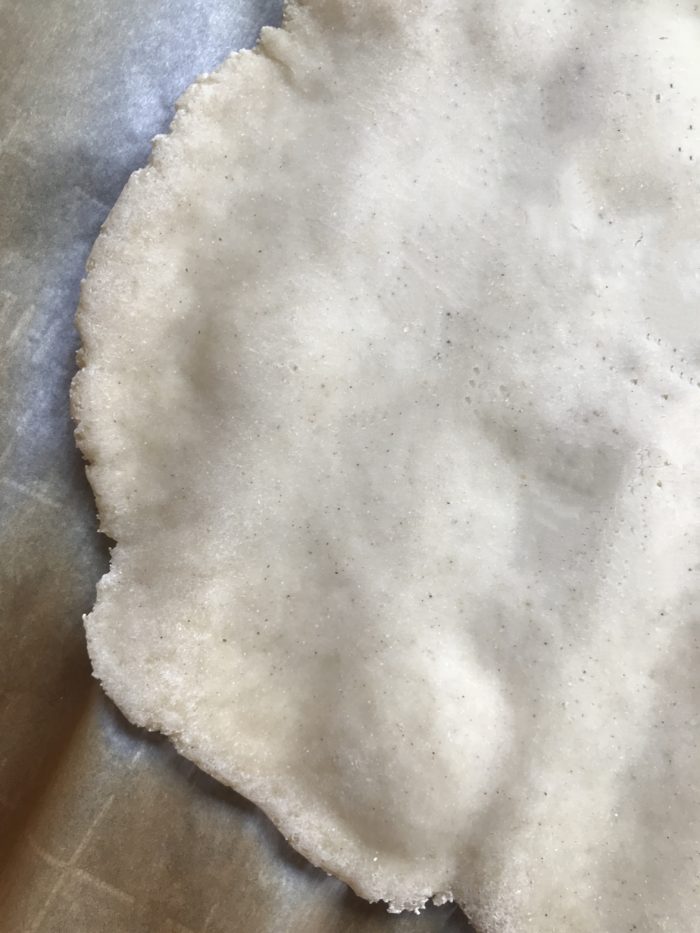
(This is a par-baked crust, note the bubbles from yeast.)
Troubleshooting: I’ve already had a few requests about subbing in non-dairy yogurt. I made it once with cashew yogurt and it was fine, but not amazing. I have a follower on Instagram who made it with coconut yogurt and did not love the results. All I can suggest is bumping up the amount of oil, and paying close attention to the texture of the dough per the description below. But it just might not be that non-dairy yogurt is a good sub.
Easy Gluten-Free Pizza
Serves 4
INGREDIENTS FOR THE DOUGH:
2 cups all-purpose, gluten-free flour (I regularly use Bob’s 1-to-1, I’ve also used Cup-for-Cup; spoon flour into a measuring cup and level off)
2/3 cup Greek yogurt (non-fat, low-fat or full-fat)
3 teaspoons yeast
4 teaspoons maple syrup or honey
2 tablespoons olive oil (use another 1/2 tablespoon for low-fat yogurt, use another 1 tablespoon for non-fat yogurt)
1 teaspoon sea salt
6 tablespoons (+ perhaps more) warm water
Add all ingredients except warm water to the bowl of a food processor. Pulse several times until ingredients are combined.
With the processor running, slowly drizzle in the water. Stop adding water when dough comes together in a ball. Open the processor and squeeze the dough – it should be soft and pliable without cracking, with all the flour incorporated, but also without being gooey/sticky. If the dough seems dry and there’s still flour in the bottom of the bowl, drizzle a teaspoon of water on the flour. Turn processor back on until water is incorporated (the dough ball should spin around and pick it up). Repeat as needed.
Turn the dough out into a bowl and knead it a few times. Shape into a ball, leave in the bowl, and cover bowl with plastic. Let “rise” (it won’t rise, but the yeast will activate) for 1 hour. Use to make pizza, or refrigerate for up to 3 days.
INGREDIENTS FOR THE PIZZA:
Marinara or lightly seasoned tomato sauce
Fresh or shredded mozzarella
Favorite proteins like pepperoni, sautéed sausage, prosciutto
Favorite veggies like sautéed mushrooms, sliced artichoke hearts, fresh tomato, olives, peppers, chiles, onion, scallions
Fresh basil
Chile flakes
Sea salt & freshly ground black pepper
Olive oil
Garnishes:
Fresh basil leaves
A bright/lemony pesto is amazing smeared on pizza
Arugula salad dressed with lemon juice, salt, and freshly ground black pepper (delicious piled on pizza)
INDOOR INSTRUCTIONS:
Preheat oven to 425°F. Divide dough into 2-4 equal pieces. (One large pizza is too unwieldy, so at minimum, make 2 pizzas.)
Tear off a 12-inch by 12-inch piece of parchment paper. Gently roll dough into a ball, set on the parchment, and flatten a bit with your palm. If the edges of the dough crack. push them back together. Top the dough with an equally large piece of plastic wrap.
Using a rolling pin, roll out dough to a 1/8-inch thick round. Peel away the plastic (crust stays on the parchment all the way through baking). Reserve the plastic and use it again to roll out the next dough ball.
Top dough with a thin layer of tomato sauce and other toppings. Season lightly with salt, pepper, and chile flakes. Using a pizza peel, transfer crust-and-parchment together to oven rack. Bake for 10-12 minutes, or until edges are crisp and cheese is bubbling and browned in spots.
Using a pizza peel, transfer pizza to a cutting board. Repeat with remaining dough. Slice and serve.
PIZZA OVEN INSTRUCTIONS:
Arrange two oven racks toward the center of indoor/kitchen oven. Preheat indoor/kitchen oven to 400°F. Preheat pizza oven to 700°F or hotter. Divide dough into 4 equal pieces. (Large GF pizzas are too unwieldy, so at minimum, make 3 pizzas from the dough. I’ve found 4 to be the sweet spot.)
Tear off a 12-inch by 12-inch piece of parchment paper. Gently roll dough into a ball, set on the parchment, and flatten a bit with your palm. If the edges of the dough crack. push them back together. Top the dough with an equally large piece of plastic wrap.
Using a rolling pin, roll out dough to a 1/8-inch thick round. Peel away the plastic (reserve to use for remaining dough balls; crust stays on parchment for par-baking in the oven). Repeat with a second dough ball.
Using a pizza peel, transfer each crust to an oven rack. Bake for 6 minutes. Using a pizza peel, transfer to the counter. Let cool for a couple of minutes and slide crusts off parchment. (I just let the crusts sit on the counter while I repeat the process with the last 2 dough balls.)
Arrange all 4 par-baked crusts on a couple of baking sheets or wire racks.
Top each crust with a thin layer of tomato sauce and other toppings. IMPORTANT: take care to spread tomato sauce as close to the edges as possible. This keeps the edges from burning too far into the pizza. Season lightly with salt, pepper, and chile flakes.
Turn heat down (or adjust wood) to medium-high heat. (You don’t have to wait for the temp to come down).
Using a pizza peel, slide one pizza into the oven. It will bake FAST, so keep your eye on the pizza at all times. Plan to turn the pizza 180° at least once (with a small oven like the Gozney, I use the pizza peel to actually remove the pizza from the oven and turn it on the peel itself before placing back in the oven). If you feel the crust is quite browned but the top needs a bit more time, use the peel to lift the pizza toward the top of the oven, where it’s hottest. It only takes a few seconds for the top to really sizzle.
Transfer pizza back to baking sheet or rack. Repeat with remaining pizzas. Slice and serve.

Twin Cities Chef’s Table

I’m Stephanie A. Meyer…

…a recipe developer, cooking instructor, author, food photographer, and health coach. Whether through my posts here, Project Vibrancy Macro Reset, Project Vibrancy Meals meal plans, my cookbooks, or working with you one-on-one, I love nothing more than helping you transform your health through cooking nutrient-dense, flavor-bomb meals at home! See Recipe Index for AIP, Whole30, paleo, gluten-free, etc.