Crusty Roasted Pork Shoulder (Paleo, AIP, Whole30)
 You’d think, after the several pork shoulder recipes I’ve shared with you over the years, that I wouldn’t need to keep playing with new techniques.
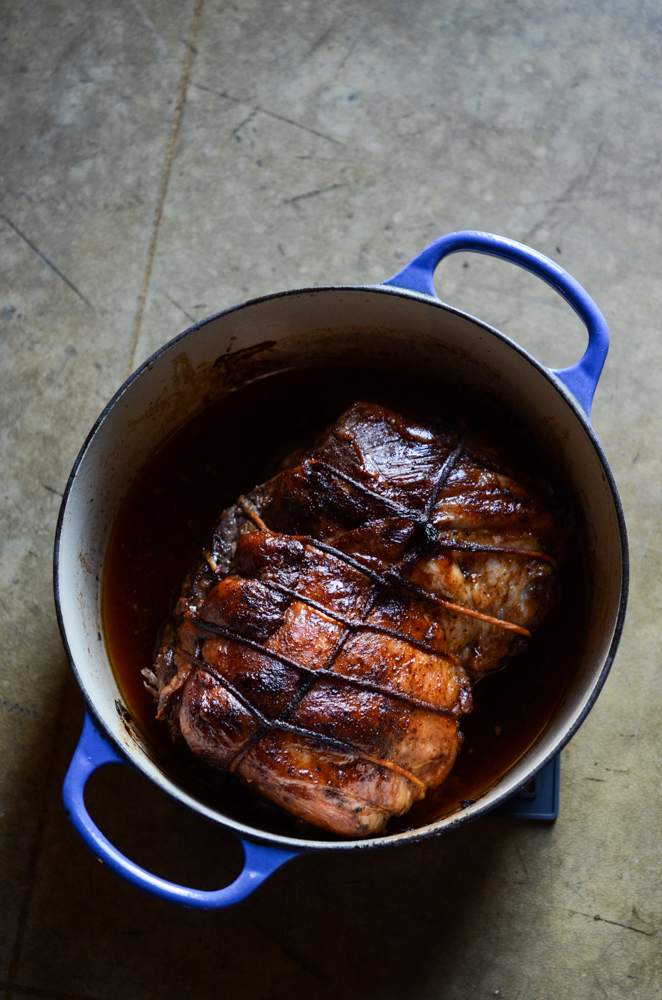
But I loooooooove me some pork shoulder and I got a hankering one day for a roast that was both falling apart tender AND crusty on the outside. So I picked up a beauty of a shoulder at Lowry Hill Meats, my favorite Minneapolis butcher, and put my plan to a test.
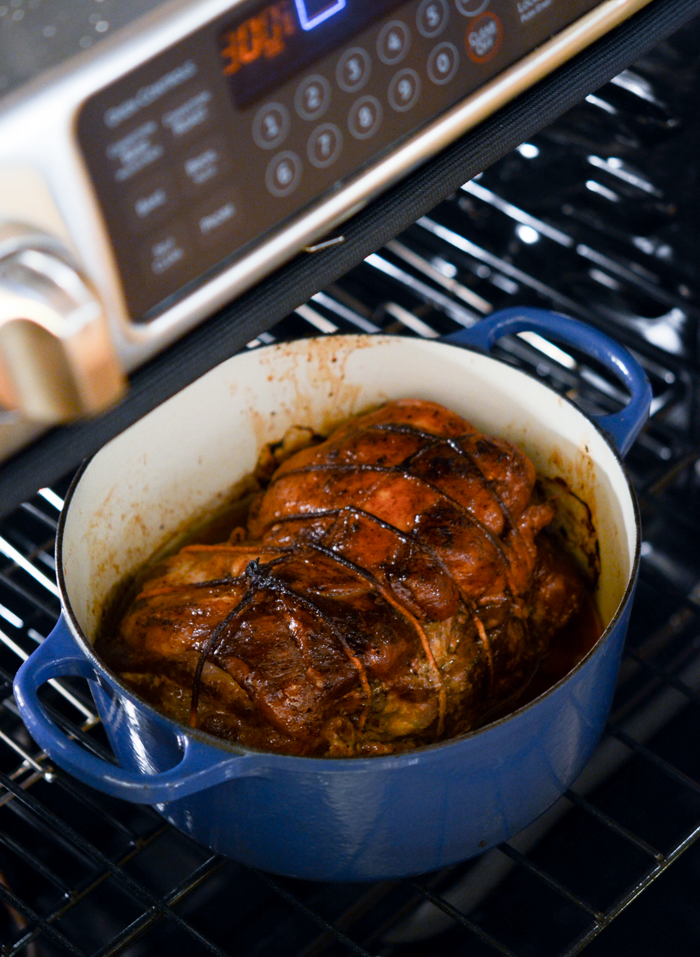
I kept the seasoning simple – really just Kosher salt with a little bit of sugar too, to enhance the crusty fabulousness (you could skip the sugar and the end result would still be great). And here’s the new technique – there’s no liquid in the pan, but I covered the roast for the first half of the total cooking time, for maximum tenderness and to get the fat rendering, then uncovered it for the second half, basting and basting with that rendered fat, for the crust.
Worked. Like. A. Tender-Crusty. Charm.
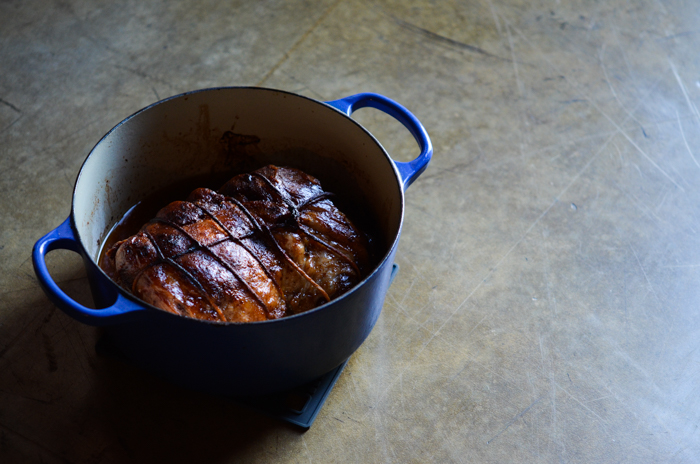
The roast pictured went into tacos, in Milwaukee, for the 3rd annual dinner party my son Nathan and I host for his friends at Marquette University. I make most of the food here at home, then load up my car and drive to Milwaukee to acquire a weekend’s worth of parking tickets. Ha! Not funny, but funny, because I have rotten parking luck in Milwaukee (and honestly, everywhere). I rent an @airbnb loft apartment, Nathan and his lovely girlfriend Samantha help me haul everything into the kitchen, and we cook and run errands for a couple of days and it’s basically my favorite weekend of the year.
We choose a different theme each time – the first year was loosely Asian, last year loosely Italian, this year very Tex-Mex: beef enchiladas, pork shoulder tacos, smoky/spicy/cheesy pinto beans, red rice, guacamole, and tres leches cake. ‘Twas a feast, and an absolute blast, and connecting with Nathan and his friends gives me all sorts of hope for the future because these are smart, funny, and kind young women and men.

OK what else? We’ve got pork and parties, sounds about right. I know, penguins!
I haven’t posted since Thanksgiving, which is weird, but there’s a reason. Actually there are two reasons. One, I went to Antarctica with my family for three weeks in December. YES I DID. It was the best trip I have ever, ever been on.
Ever.

Other-wordly, spectacular, a real adventure. I’ve been working on a post about it since I got back and I WILL post it, it just took me a lot longer to process my experience (and edit my photos) than I thought that it would. I’ve never been so far from home and in such strange and beautiful surroundings and you know what? That’ll do things to a girl’s head. That trip changed me. So stay tuned, I took some really fun photos.
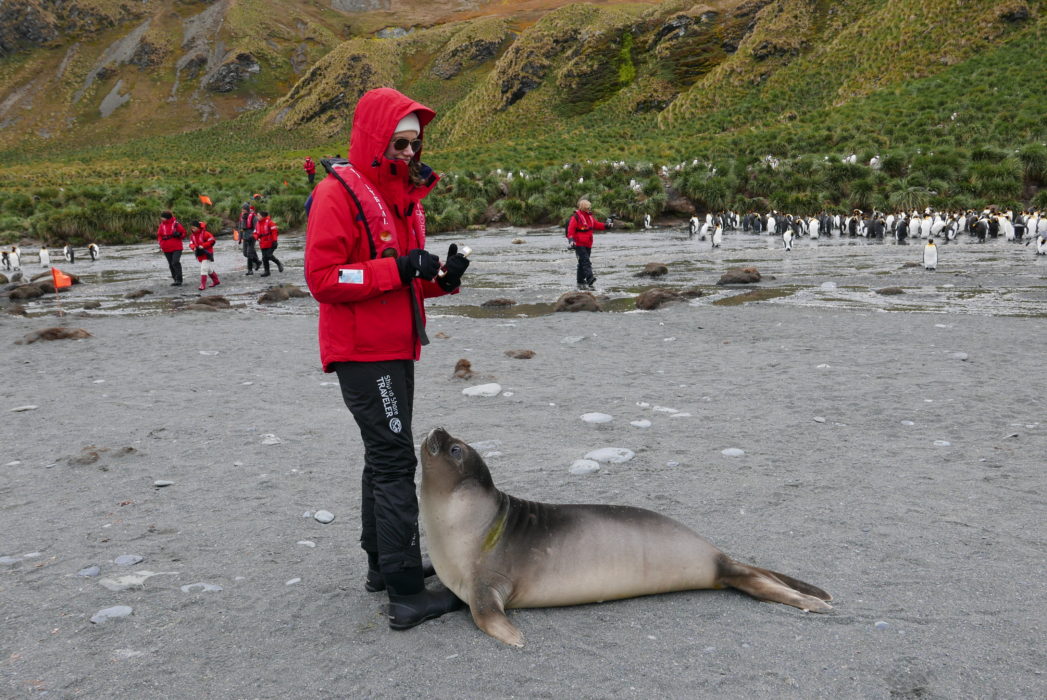
And got nudged by a baby elephant seal.
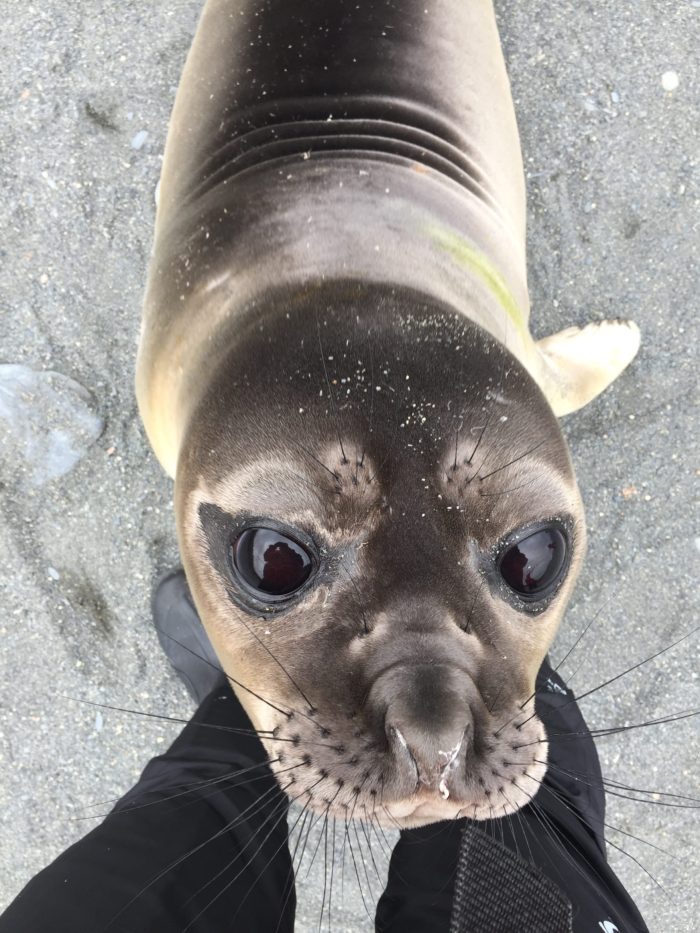 How incredible is that? Hey buddy! (That’s what I kept saying over and over again, basically to all the animals we saw.)
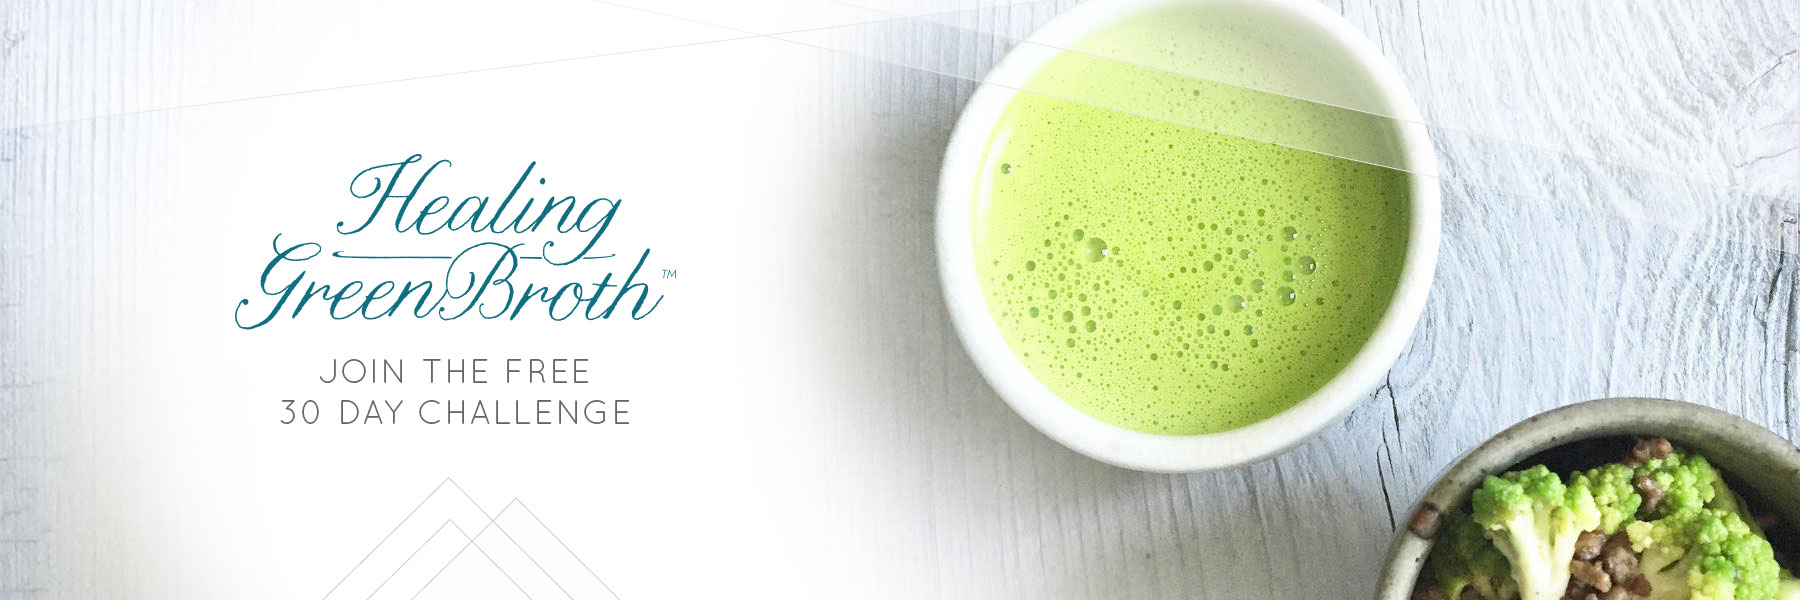
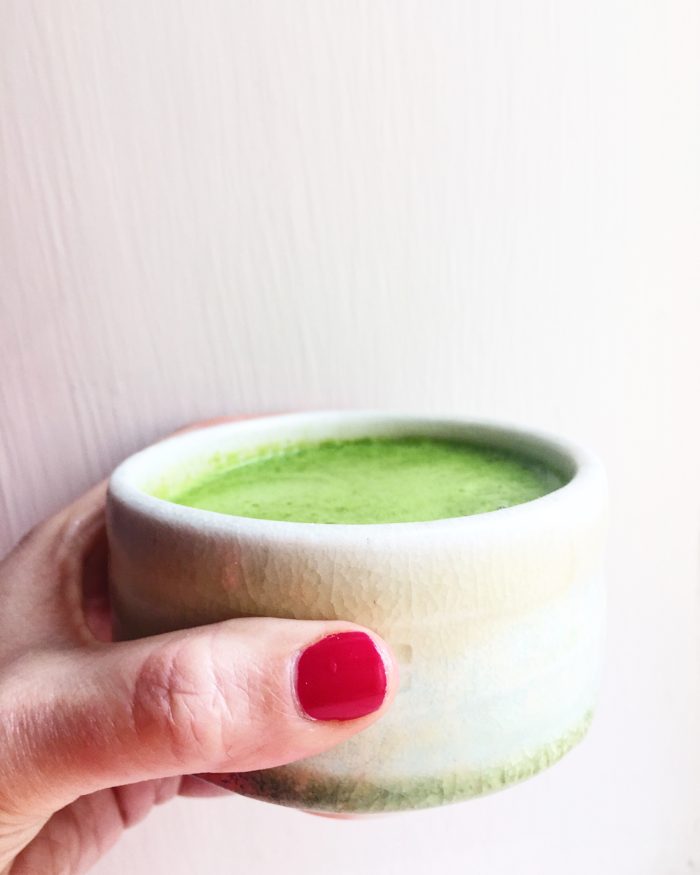
And two, I’ve been buried in a new project called the Healing Green Broth 30-Day Challenge. I know a lot of you already make my original Healing Green Broth because you’ve sent me very kind notes about how you use it to get over an illness, or get back on track with healthy eating after a vacation, or to give you a boost of energy when you’re working extra hard, or to recover after a workout…on and on. It’s really been so wonderful. Those are all of the reasons I use it too, and I especially think of it as a skin tonic. It packs a LOT of nutrition in one cup of liquid – from the greens/herbs + healthy fats + collagen protein + bone broth minerals + citrus – and I can feel it and and see it and apparently so can you.
Woo hoo!
And so I came up with the idea of this Challenge. As you know, it is my personal mission to get people cooking because real, nutrient-dense food isn’t just delicious but changes health and lives. I also know that people are busy and cooking takes time to learn. The terrific thing is, once you know how to cook efficiently, it’s actually faster and cheaper than take out and eating out. Not to mention you have total control over the ingredients and end results. As a vibrant health seeker and a bit of a food snob, and apparently a control freak (!), I personally LOVE that control over what I eat.
I don’t just want mindless calories, I want food that nourishes and makes me glow and tastes flipping fantastic. I want it alllllll, mwahahaha.
Healing Green Broth is a cool introduction to preparing something easy, deeply nutritious, and damn delicious at home. I KNOW that when people boost their nutrition with daily bone broth and greens, they LOVE how they look and feel. Basically, I’m trying to get people hooked on deep nutrition.
I’d love it if you joined the Challenge! Read all about it and sign up here. It’s FREE! Share with a friend if you’d like to do it together. I’ll be sending out the first email in a few weeks – I’m working hard on finishing up a simple website and making an instructional video. Super fun things.
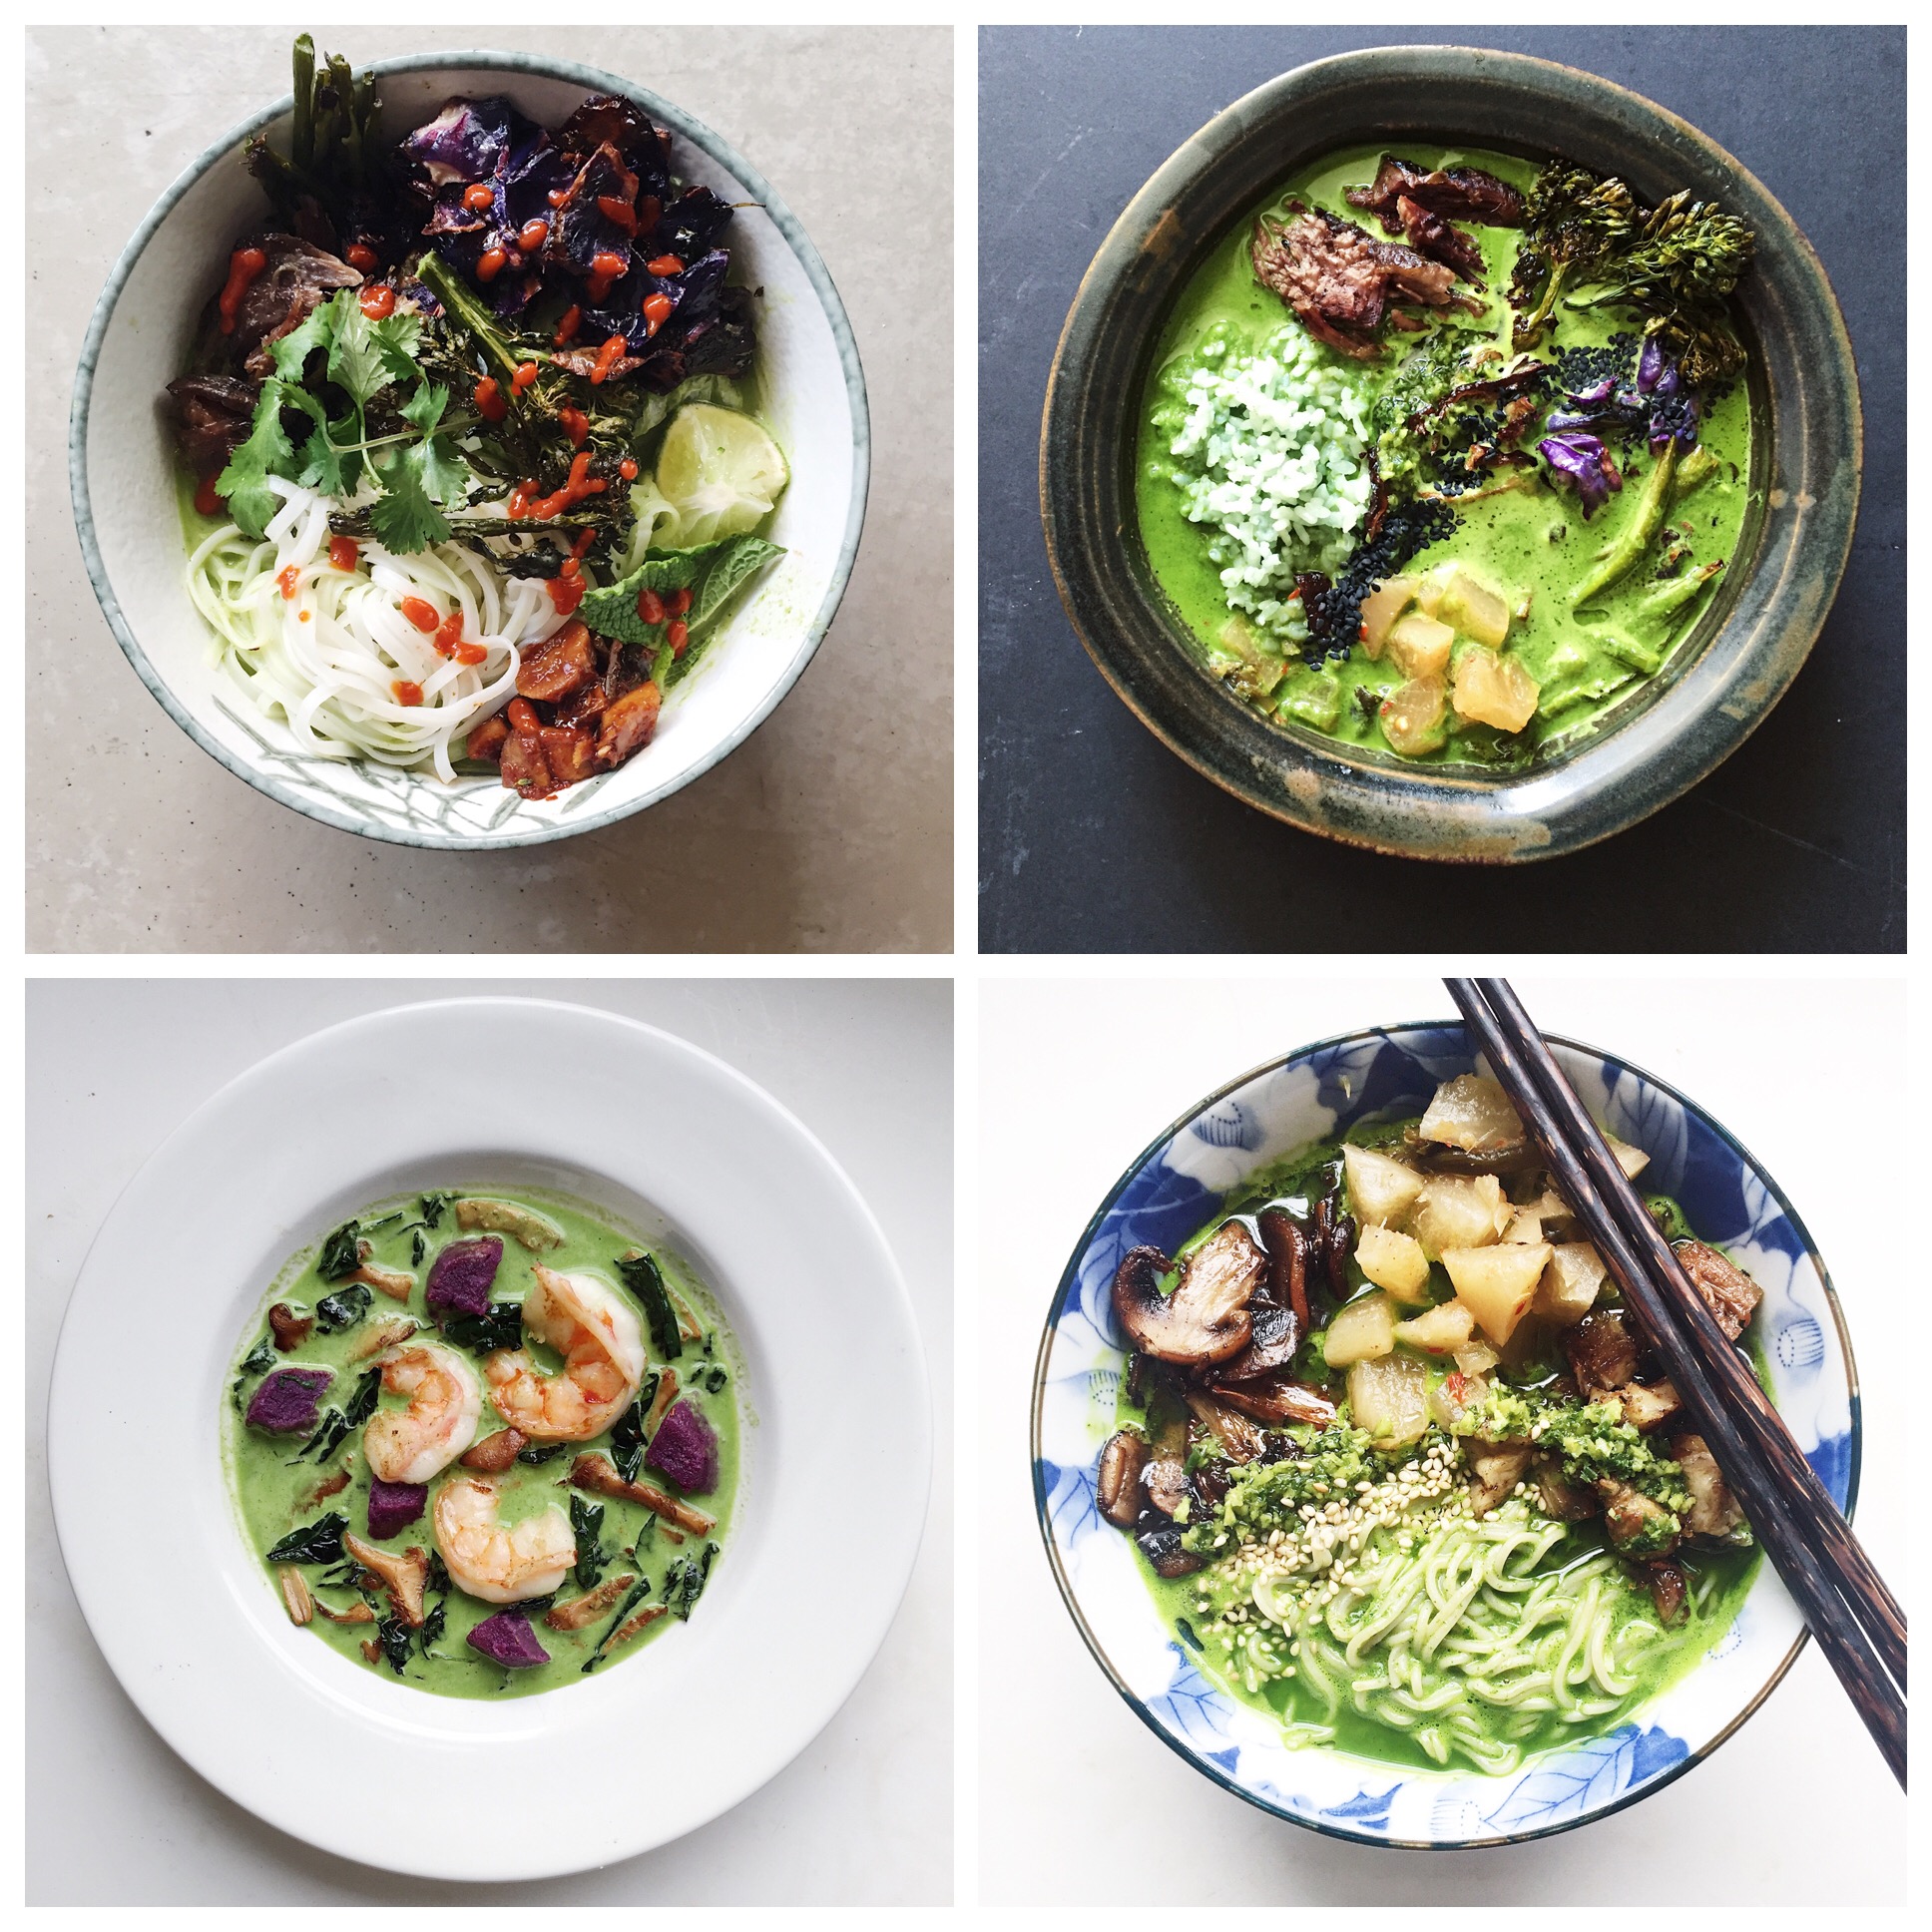
Once you sign up, I’ll add you to a private Facebook group where you can ask questions or share pictures and try out the recipes I’ll share for turning the various versions of Healing Green Broth into soups and whole meals (ramen, anyone?).
I have a test group just wrapping up their last week of the Challenge and I’ve learned so much from them. If you’re on Instagram, follow @healinggreenbroth and check out the #healinggreenbroth hash tag to see how it’s been unfolding.
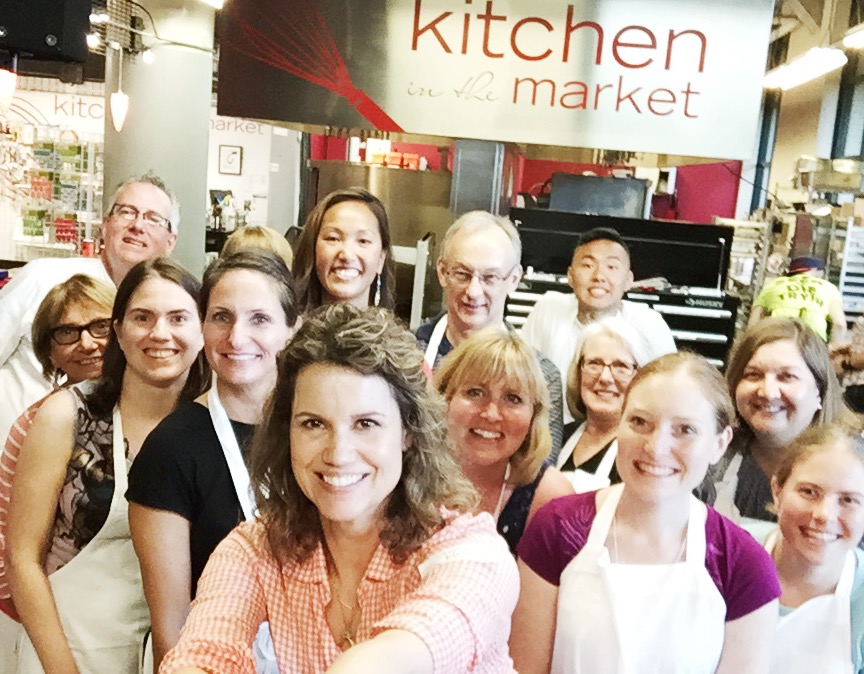
If you want to cook together, and chat about paleo or real food (same thing, in my book), or Healing Green Broth, or penguins, then PLEASE come to my Paleo Easter/Passover Class at Kitchen in the Market, April 7, 2017. We will cook and feast and really just have a great time. I’d be thrilled to see you there. Bring your mama or wife for an early Mother’s Day!
Alright, I’ll stop there. Too much to tell you about, gah! I hope you’ve had a lovely winter and are ready for some spring shenanigans. I know I am. No more trips for awhile, just a LOT of recipe testing and playing with Healing Green Broth and coming up with some new ideas to share with you.
Until then, roast some pork!
xoxoxo Stephanie
Crusty Roasted Pork Shoulder (Paleo, AIP)
Serves 8
Note: It’s worth splurging on a really excellent pork shoulder for this roast. As I noted above, I bought mine locally at Lowry Hill Meats. Look for heritage-breed pork if you can find it, it will be as marbled as granite with a nice, thick fat cap and a pure, porky flavor. The recipe is written for a 3-pound shoulder but if you can buy a bigger one, do it. The roasted pork freezes beautifully and how happy would you be to come home some hungry night and remember that gem in the freezer? VERY HAPPY. Bear in mind that if you do a larger roast, you’ll need to add to the cooking time. Erik and I did a 7-pounder one Sunday and roasted it for 7 hours – plan at least an hour per pound. I keep the seasoning really simple so I can eat the roast with a variety of seasonings or sides like salsa, ginger-scallion sauce, mashed potatoes, etc.
3-pound bone-in (or not, it doesn’t matter much, I like to have the bone to stash in the freezer for when I make bone broth) pork shoulder (if it is boned and there are loose flaps of meat, truss it or ask your butcher to)
Kosher salt
Granulated sugar (optional)
Garlic slivers (optional)
Preheat oven to 300 degrees F.
Sprinkle the roast generously with kosher salt and rub it in. If using the sugar, sprinkle the roast lightly with sugar and rub it in too. If using the garlic, make deep slices into the meat with a narrow (paring) knife and push slivers into the slices. (Can be done up to 2 days ahead; wrap and refrigerate. Bring to room temperature before continuing.)
Nestle the roast into a heavy Dutch oven with a cover. The roast should fit snugly into the pan, without too much space around or above it. Cover the pan, set it in the oven, and roast for 1.5 hours.
Uncover the pan and baste the roast with rendered fat. Leave uncovered and continue roasting, basting occasionally, for another 1.5-2 hours or until pork is very tender.
Remove roast to a cutting board and let rest for 10 minutes. Pull apart and serve as is, or to fill tacos or lettuce wraps. To freeze leftovers, cool to room temperature, wrap airtight in plastic or in a glass container, label with contents and date (so important!), and freeze for up to 6 months.

Twin Cities Chef’s Table

I’m Stephanie A. Meyer…

…a recipe developer, cooking instructor, author, food photographer, and health coach. Whether through my posts here, Project Vibrancy Macro Reset, Project Vibrancy Meals meal plans, my cookbooks, or working with you one-on-one, I love nothing more than helping you transform your health through cooking nutrient-dense, flavor-bomb meals at home! See Recipe Index for AIP, Whole30, paleo, gluten-free, etc.